How To Fix Digitizing Errors with Topology Rules
Topology rules define and enforce spatial relationships and constraints between geographic features, ensuring data integrity and consistency within a spatial dataset.
Fix Your Editing Errors with this ArcGIS Topology Tutorial
Unless you’re a data editing Jedi, your GIS data may unknowingly have errors like gaps and overlaps… What to do? Use topology rules in ArcGIS:
If you answer yes to any of the following questions, you should consider using GIS topology rules to check to validate and fix errors in your GIS data.
- Do unwanted gaps exist in your data?
- Do overlaps exist?
- Should lines touch the boundary of polygons?
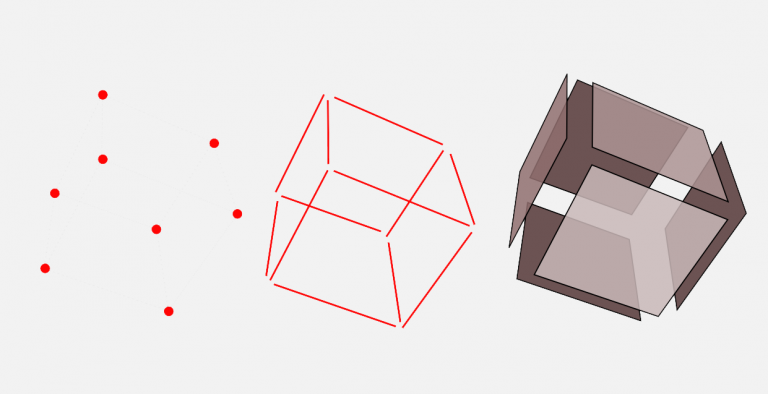
TOPOLOGY is a set of rules on how points, lines, and polygons share their geometry. Topology validates the spatial relationship between neighboring and overlapping features.
Types of Errors: Accuracy vs Precision
Analysts often assess data validity using accuracy and precision – which aren’t the same. What’s the difference between “accuracy” and “precision”?
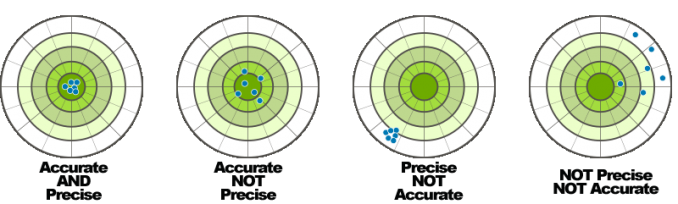
PRECISION identifies the closeness of two or more measurements to each other. ACCURACY refers to the closeness of a measured value to a known value.
Unknowingly, errors can exist in GIS data. You may not even know. How scary is that?
That’s why we can fix errors automatically with topology rules. For example, positional accuracy, digitizing error, data generalization, and age of data are often sources of data error.
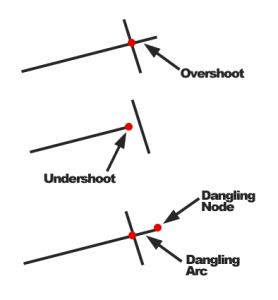
Dangles, overshoots, and undershoots are examples of errors.
SLIVERS are small, spurious gaps, often a result of imprecise digitization of features in GIS.

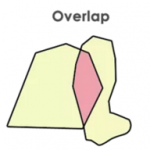
OVERLAPS are polygons or lines that are on top of each other which could result in double-counting areas.
Also, when you have two conflicting data sets, conflation (edge matching and rubbersheeting) resolves conflicts by preserving the most accurate one.
Esri Topology Rules in ArcGIS
Topology rules ensure connectivity between GIS datasets. It fills in gaps, removes slivers, and fixes overlapping polygons.
When polygons share a boundary, topology rules enforce data integrity.
…But you already know that.
Let’s get into the nuts and bolts of how to use topology in ArcGIS.

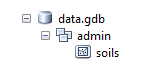
Step 1. Add your data to a geodatabase
Creating topology rules in ArcGIS is just a couple of simple steps. First, add your data to a feature data set.
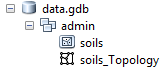
Step 2. Create a topology data set
Once your data is in a geodatabase, you have to create a topology data set.
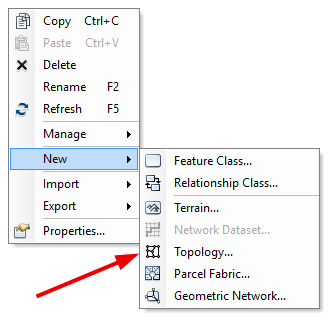
Follow the instructions by selecting your feature class.
Step 3. Add topology rules
There are over 30 rules you can add to inspect the quality of your data. One by one, you add rules that govern exactly how to perform quality control to your spatial data. Below is a screenshot of adding a topology rule to remove gaps in ArcGIS Pro.
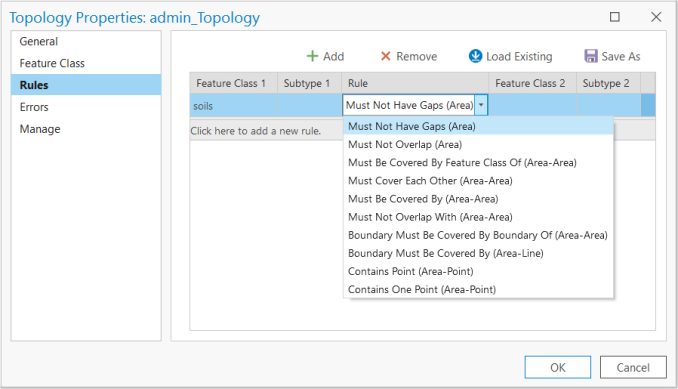
Overlapping polygons can be resolved by the topology rule “must not overlap”.
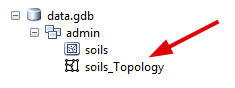
Select yes to validate. This is how ArcGIS refreshes and ensures that it’s using the most recent data errors. The geodatabase should have a topology dataset within it now:
Other options for topology rules include the following:
Step 4. Inspect your data
Once your data is in a geodatabase and rules have been added, you can now inspect your data topology. ArcGIS topology fixing is interactive. One by one, you can go through errors and fix them with the error inspector.
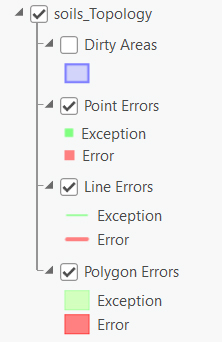
Click the Add Data button. Then, add the topology data set to your table of contents.
The errors in your data will appear as area, line, and point errors.
Step 5. Correct your errors
The ArcGIS topology tools support richer, complex error checks. Resolve topology issues with automatic or manual fixes.
You’ll be able to find the “Topology tools” by clicking the “Edit” ribbon. As long as your topology dataset is in your contents, you’ll be able to see the “error inspector” button.
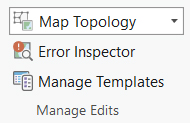
When you push the error inspector button, you can manually go through each error.
Going through the error inspector report, you can right-click individual errors for quick fixes. Here are the types of topology fixes you can perform:
MERGING: The overlapping portion will be subtracted from one polygon and added to the other polygon.
SUBTRACT: The overlapping portion will be removed completely from both polygons.
CREATE FEATURE: The overlapping portion will be removed completely from both polygons and added as an entirely new feature.
Preventing Errors by Using the Snapping Environment
Using snapping in GIS can prevent errors from happening altogether. The snapping environment determines the distance that newly digitized points, lines, and polygons will occupy the same location as existing features.
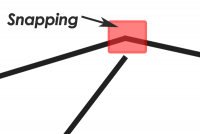
When new features are created in the editor, they will be automatically snapped to existing features. For example, you can snap to edges, points, ends, intersections, midpoints, and tangents.
What’s Next?
When errors exist, topology tools clean geometry for GIS features.
Topology is especially useful for detecting and correcting errors in digitized data because it checks and validates the spatial relationship of neighboring and overlapping features.
Topology editing is a strong point in ArcGIS with a ton of options to fix editing errors.
It’s really the best of its kind.
Changelog
2024/03/06 – Updated tutorial to the version of ArcGIS Pro


Nick: You can’t use shapefiles. Make sure that you are using file geodatabase feature classes. In your geodatabase, create the topology and add the feature classes to the topology within the GDB.
Thanks, it really helped me a lot.
Whenever I try creating the topology data set, I get an error reading: “Cannot create topology. The selected feature dataset does not contain any feature classes which can participate in a topology.” What can I do to get around this error? I am using ArcMap 10.4
When you’re creating your topology data set, check the rules to make sure they can be part of the topology. Also, I’ve seen that if you have multiple data sets participating in topology, then sometimes there are issues.
I’d suggest simplify with just creating one topology data set with a single feature class. If that works, try adding one more with a simple rule. Finally, if that works, try again to add more feature classes with more topology rules.
Start off small, then add more complexity… If that makes sense. When you do this, you find the root of the problem of where the topology error is happening