Erase Tool in GIS
What is the Erase Tool?
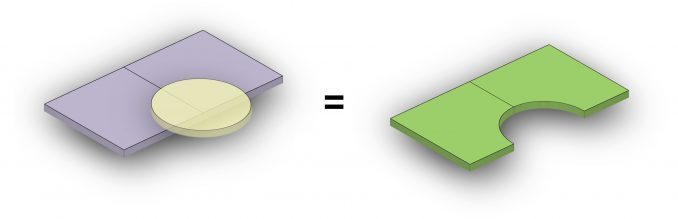
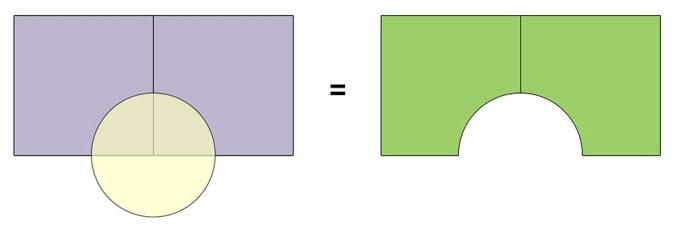
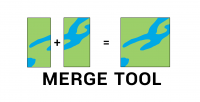
The “Erase Tool” removes the area that is overlapping with the erasing features. The input layer is the feature that will be erased. Then, the erasing layer determines what to erase.
Whatever gets erased is permanently removed from the output, keeping just the remaining features. So everything that lies outside the erasing layer ends up in the output layer.
The “Erase” tool removes overlapping area between two spatial datasets, creating a new dataset that retains the features from one dataset while removing the intersecting features from the other.
What is an example of using the Erase Tool?
Although it’s not a common geoprocessing tool, erasing features has a lot of uses.
Here are some examples of when you can use it:
TORNADO DAMAGE: In the aftermath of a tornado, the destruction it leaves in its path can be devastating. This tool can depict tornado damage for areas that have been impacted and understand the extent of destruction.
FOREST FIRES: If wildfires spread through a forested area, erasing features will remove all burnt-down tree stands.
FLOODING: When water levels continually increase, erasing areas can depict shoreline erosion. This tool can help display the changing landscape and loss of land.
Also, this tool is great for data cleanup because it can erase unwanted overlay features.
Errors and Troubleshooting Erasing
The Erase Tool is straightforward, but you can still encounter typical issues using it. Here are the most common errors and how to troubleshoot them:
- This tool requires an Advanced License in ArcGIS, so you can’t use it without one. A workaround is to open a QGIS session and try the Difference Tool.
- If the output has fewer records than what you expect, check that you don’t have any records accidentally selected. It’s only what you select that will be used as erasing features.
If this tool gives you the 999999 error, this is the generic error code. Make sure to check out our guide on how to fix the 999999 error in ArcGIS.

How to use the Erase Tool in ArcGIS
If you want to erase features, this tool is available in both ArcGIS and QGIS.
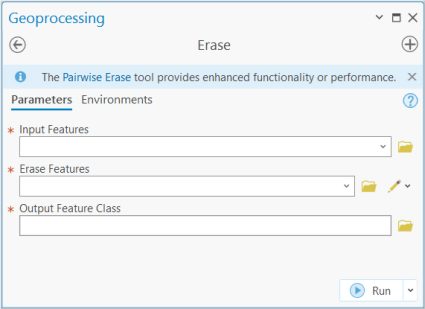
In ArcGIS, you can find this tool in the “Analysis Tools” within the “Overlay Toolset”.
The input features are what you want to erase. The erase features define what will be used to erase the input features. Then, all you need to do is set your output feature class location and name.
But you won’t be able to access this tool if you only have a basic license in ArcGIS.
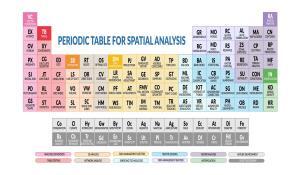
READ MORE: The Periodic Table for Spatial Analysis
How to Erase in QGIS (Difference Tool)
In QGIS, the equivalent tool is the Difference Tool within the Vector | Geoprocessing Tools | Difference.
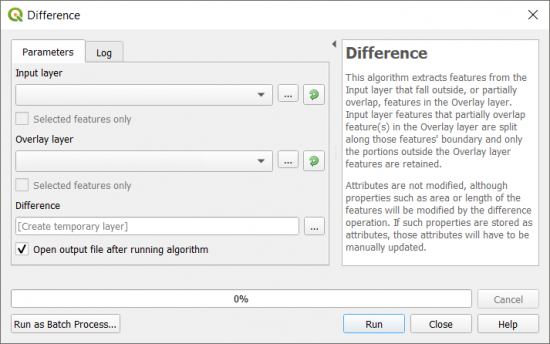
There is no variation between these two geoprocessing operations for both GIS software, as they both produce identical output.
QGIS 3 gives more options on which features you want to select that the Difference Tool will use in the algorithm.
Summary: Get To Know the Erase Tool
In GIS, the Erase Tool is a geoprocessing operation that allows you to remove or “erase” the features of one spatial dataset from another based on their overlap.
It creates a new dataset that contains the geometry of one dataset minus the geometry of another dataset.
The Erase Tool is an underappreciated tool in GIS that helps you clean up your data. Personally, I like it because it’s always helpful to erase things!
Also, it’s not only limited to polygons. But you can also erase points and lines as well.
How do you use this overlay tool? Please let us know with a comment below.