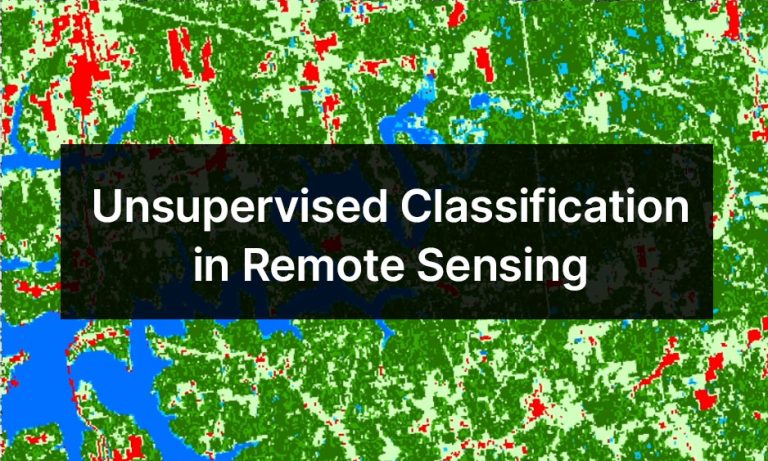
Unsupervised Classification in Remote Sensing
What Is Unsupervised Classification in Remote Sensing?
Unsupervised classification in remote sensing categorizes pixels within an image into distinct classes.
But the key difference between it and supervised classification is that it groups without prior training or labeled data.
In this approach, clustering identifies similarities in pixel values with their spectral characteristics.
In this article, we’re going to go through the steps of unsupervised classification.
Unsupervised Image Classification Steps
The process of unsupervised classification involves the following two basic steps:
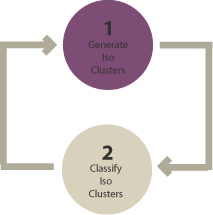
- Generate Clusters: Generating clusters involves autonomously grouping pixels with similar spectral characteristics.
- Manual Classification: Classifying clusters means assigning each group of pixels a land cover category.
READ MORE: Supervised and Unsupervised Classification in Remote Sensing
Step 1. Generating Clusters
As mentioned already, generating clusters involves grouping pixels based on similar spectral characteristics. This allows you to identify distinct land cover classes in any type of imagery.
Here are some of the options that you have to consider when you’re generating clusters:
- NUMBER OF CLASSES: The number of clusters that you want to generate during the unsupervised classification. ArcGIS recommends that this number should be 10 times larger than the number of bands in your image. So if you are working with red, green, and blue bands, then this value should be 30. But keep in mind that you can always combine clusters together into a single class.
- MINIMUM CLASS SIZE: This value can ensure that you have a minimum number of pixels to make a unique class.
Overall, we recommend trial and error with these inputs as they can make a world of difference to the quality of your classification.
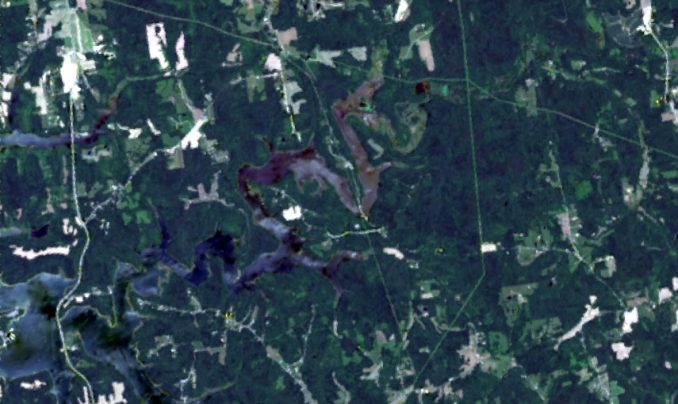
Here’s an example of a raw Landsat image. If you’re looking to download an image for your own personal use, check out our guide on downloading Landsat imagery from the USGS Earth Explorer.
After clustering your image, it will look like the following. As you can see, it’s done a fairly good job of grouping pixels based on the spectral properties of the image.
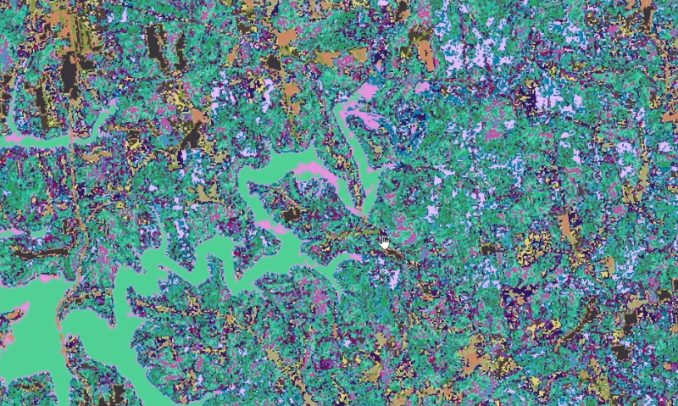
But the only problem is that it’s hard to tell which class is which. We’ll address this issue in the next step through manual classification.
Step 2. Manual Classification
Manual classification involves visually inspecting the clusters generated. Then, you assign them to specific land cover classes based on their spectral characteristics and context within the image.
While this method allows for greater interpretive control, it can be subjective. It can also be more time-consuming compared to automated approaches.
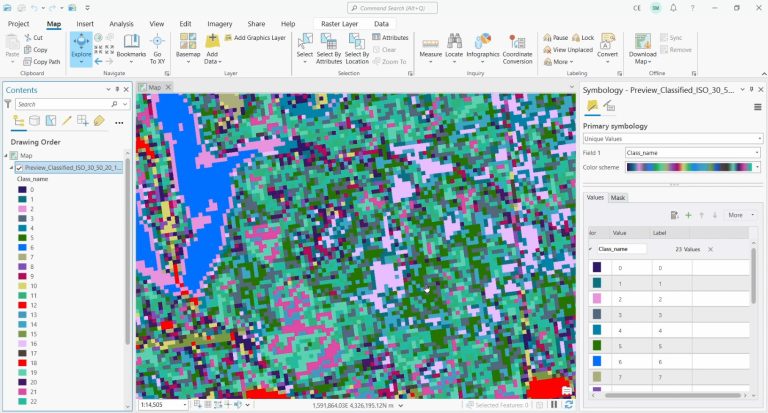
Below is a screenshot of setting each class color to a specific land cover class. For example, you may want to change water classes to blue and urban classes to red.
Needless to say, this can be a very tedious process. Specifically, you may never find the perfect class for a cluster. If this is the case, you may want to repeat step 1 and regenerate clusters. Another good option is to try out object-based image classification as it can be more accurate.
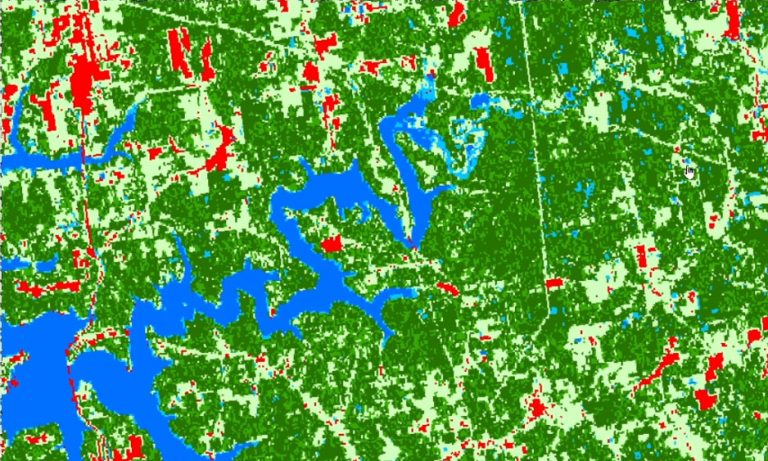
After completing this manual process of assigning each cluster to a land cover class, here is what the final product looks like with water, wetlands, urban, and different forested areas:
Keep in mind that you’ll have to export your final land cover product. You may also have to reclassify each class and merge each cluster into its own unique land cover ID.
Summary: Unsupervised Classification
You’ve learned today that the two steps for performing an unsupervised classification are (1) generating clusters and (2) manual classification.
Although you may not ever be able to generate perfect clusters, this technique allows you to perform land cover classification without predefined training data and minimal user intervention prior to classification.
In our example, we classified a Landsat image into water, wetlands, urban, and forested land cover classes.
Do you have any questions? We’d love to hear from you. Please send us your feedback in the comment section below.